TOPS
GROUP BOX
34-469, Birkenhead, Auckland 0746, NZ
TOPS PRODUCTIVITY SPECIALISTS
DIGITAL PICTURE SIZING
Before posting pictures to a Blog or even a Facebook page, a few important points regarding digital picture files.
First of all, modern digital cameras are getting better and better, cheaper and cheaper. I think my first digital camera used 4 AA batteries that lasted about 20 minutes, the image was rubbish and it cost the equivalent of $1,000NZ! ($800 AUD).
The original image size and format was pretty small and rough by today's standards, but with each year that passes, the image quality improves but the file size increases, which is fantastic when you are wanting to print out large photographs or even to crop them. The downside as far as blogging is concerned, is that these large images take a long time to upload and that means that it will be more expensive if you are paying by the minute.
Not so long ago, a 1.2 megapixel camera was normal, then it improved dramatically to 3.2, then 5.1, onto 8, 10 and with high end cameras, even better quality. This is rather like older newsprint, take a magnifying glass and you can almost count the "dots". The higher the number of megapixels, the larger the image possible before it breaks down into those dots or pixels. More is better.
So the important points:
-
Larger images are ideal for getting good quality prints
-
Smaller images are ideal for posting to a blog
-
Most cameras these days can cope with large images
-
Storing large images is cheap these days
-
Once downloaded to the computer, the JPG format doesn't exactly behave!
WARNING!
The default file format for most cameras is JPEG - which is a "compressed" image. Whilst this is very popular and easily read and incorporated into most applications, each time you open the image and then lightly crop or adjust it, IT SHRINKS! Cropping to 80% of the original size may reduce the image by much more than 20%.
This means that the quality and definition reduces each time until it is next to useless.
So, it pays to save your photographs in their original format, copy the ones you are wanting to use, then you modify the copy NOT the original. I'll explain how to do that later.
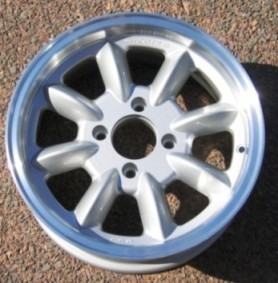
This is an example of a JPG file that has been saved several times and reduced each time and is shown here 150 pixels wide.
What is important is that the original photograph was 2mb (megabytes) or 2000kb - kilobytes - which is about half the size produced by a modern camera. You will notice that is has been shrunk initially to just under 300kb - so that is a massive reduction even for the first image. Even if I had shown number 1 at full size on this page, it would have looked superb and would have gone right across the page. However, it would not have produced much of a print, which would have looked more like example 4. So examples 2 and maybe even 3, are acceptable on a screen this size. Image number 4 is the "pixellation" effect you get when either you zoom in too much or try to print out a picture that is too large for the file size.
 |
 |
 |
 |
 |
| 272kb | 138kb | 36kb | 15kb | 13kb |
So, what this shows is that to display on a computer screen, the image doesn't really have to be very large in terms of file size - which is great news if you want to load pictures to your blog. You don't need to upload full size images to the internet - ever. As an aside, many professional photographers only ever upload small samples of their work, as they know full well that they will not produce large prints
FINDING OUT THE FILE SIZE OF IMAGES
Assuming you are not overly computer literate, you probably got some software with your digital camera and can happily move images from your camera to your computer, Just remember that moving them to your computer does NOT remove them from the card in your camera!
Our next door neighbour some years ago struggled on a trip to Vietnam, with the camera card filling up after a few days. She missed out on many further pictures. When quizzed afterwards, she thought that putting them onto her computer automatically removed them from her card...
Click on this link:
http://www.golisbon.com/tours/gocars/gocars.jpg
 You
should have a picture. With your mouse over the image, right click and at
the bottom of the list should be the word "properties". Click on that and
you should now have this information about the image.
You
should have a picture. With your mouse over the image, right click and at
the bottom of the list should be the word "properties". Click on that and
you should now have this information about the image.
At the top is the name - gocars.jpg
Further down is the address (URL) - which is the link I posted above!
Size - 27,799 - that is 278 kilo bytes (27,799 divided by 1,000!)
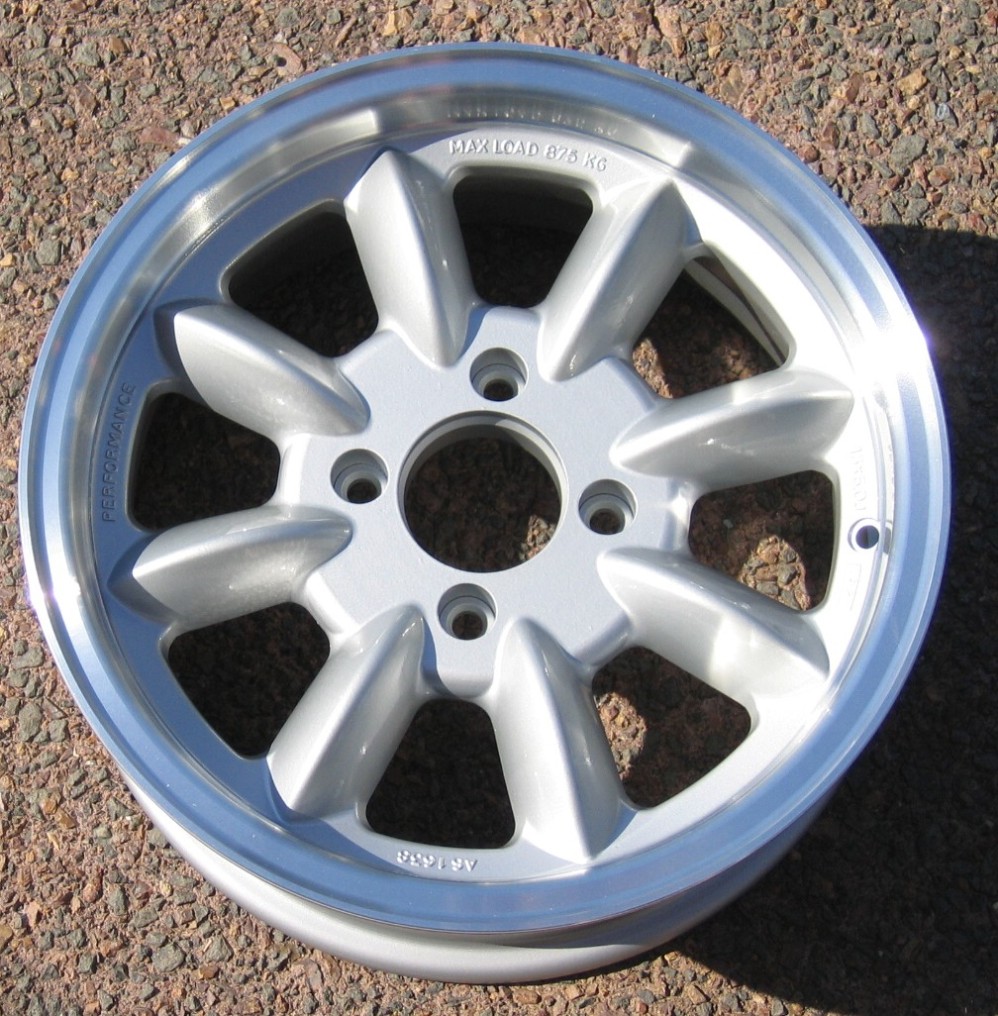
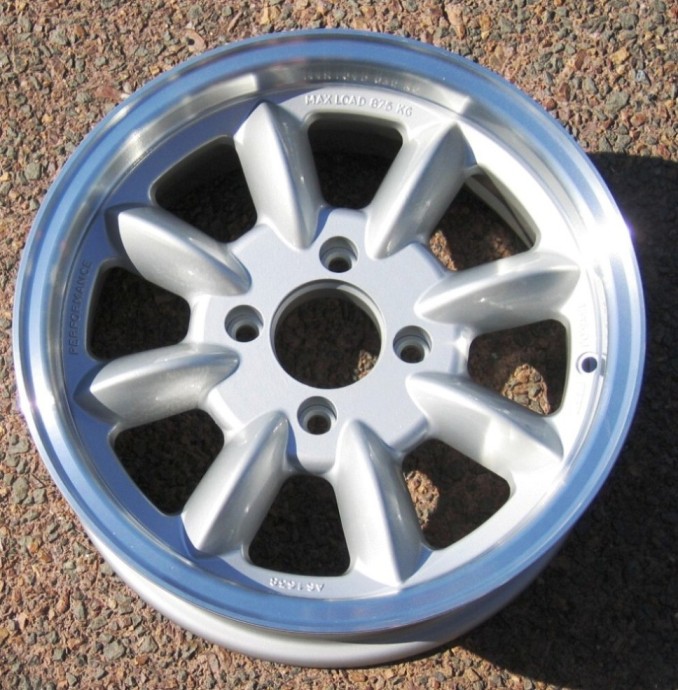
(That is about the size of the original wheel picture.)
Dimensions - 514 x 183 pixels.
Your computer screen is measured in pixels, so it may be 1200 pixels wide, so that image will take up about half your screen.
The part we are interested in is the image size of 27,799 or 278kb.
if you look on your own computer, bring up one of your own recent images and do the same thing.
Right click>properties - and just look at the file size.
It may be anything from 250kb to 4mb (1 Mb = 1,000 KB). Sit back now and take a break.... Have a cuppa or a glass of wine.
We'll look at HOW how to resize them later - probably when I have written it up....
RESIZING THE PICS BEFORE PUBLISHING
Remember, the most critical step is to COPY your
original pictures and only resize the copy! That means that if you
mess it up, you can always return to the original, copy it again and
have another go! If you follow my structure for naming the
pictures (by date) - see the page on
![]() , you may start with a picture named 211_0525_07 (gives the date
it was taken). Copy this pic and then use the same name but at a
b, or c on the end. This means that it will still line up
correctly in date order.
, you may start with a picture named 211_0525_07 (gives the date
it was taken). Copy this pic and then use the same name but at a
b, or c on the end. This means that it will still line up
correctly in date order.
This is written for those using Windows rather than
Macintosh so what follows should work! To do this, there are
probably several dif ferent methods but this wo
 rks
for me... Hopefully you have on your computer a programme called
"Windows Explorer". On later versions it may even appear on your desktop
with an icon that looks like this (left). If it doesn't appear on your
desktop or the lower task bar at the foot of the screen, it may pay to
drag it there. This is yet another learning step that regular
users take for granted, so we might have to go down that procedure too
later!
rks
for me... Hopefully you have on your computer a programme called
"Windows Explorer". On later versions it may even appear on your desktop
with an icon that looks like this (left). If it doesn't appear on your
desktop or the lower task bar at the foot of the screen, it may pay to
drag it there. This is yet another learning step that regular
users take for granted, so we might have to go down that procedure too
later!
Just to explain what Windows Explorer does, it is possibly one of the most useful of all programmes as it allows you to see where all the the files are in your system and it is an easy method of copying, creating, renaming and organising your system. You can create directories or storage areas and view all files as names, or pictures, and it gives you crucial information such as file size.
This pic shows what it may look like when you open it - (obviously, each computer is different and again, if you read the article on "Filing", you may understand a bit more.
Depending on where your pictures are actually stored on the computer, you'll need to find them! The default is a folder or directory listed on the left as Pictures! Click on that icon and you will either see the pictures or a list of further folders.
TIP: Assuming you have deleted the rubbish pics, if you then want to copy the whole lot, press the "Ctrl" + "A" keys and it should shade the whole lot in one go.
Select the "copy" option and move the mouse to an empty section of the screen (or a chosen new location and then right click and "paste" and you should then get every pic copied and it wil state that it is a copy. From now on, use the new copy only!
Depending on how your system is set up, if you click on the new image, it may well come up automatically with the correct programme - if it doesn't, click on the right mouse button and you'll get a list of options including "open with". The easiest programme to use and the one you may all have is "Microsoft Office Picture Manager" .
There are probably several programmes on your system capable of carry out a resize, just click on the "Edit" function and you should get an option to "resize" or "compress". Remember, what we are looking for here is to compress the file for a Blog or an email to friends. Neither requires a large image and you still have your original file safe...
To Be Continued...
Updated May 19th 2011
Copyright © 2022 TOPS Group All Rights Reserved